Site Photos
Site Photos lets you attach pictures to a site so everyone who works on that site can see them later. Photos are a shared record: whoever has access to the site sees the same photos, whether they are on the mobile app or the web app.
Common uses:
- During installation — document the finished work: equipment placement, wiring, transfer switch, clearances, and the data tag with the model and serial number.
- During troubleshooting — capture what you are seeing so a colleague or support can review it without a second trip to the site.
- Before a service visit — look at the site before you arrive so you know what equipment is there and how to reach it.
Photos stay with the site, so they are still available months later when someone else picks up the job.
Finding Site Photos
Open a site and scroll to the Site Photos panel. Collapsed, it shows how many photos the site has.
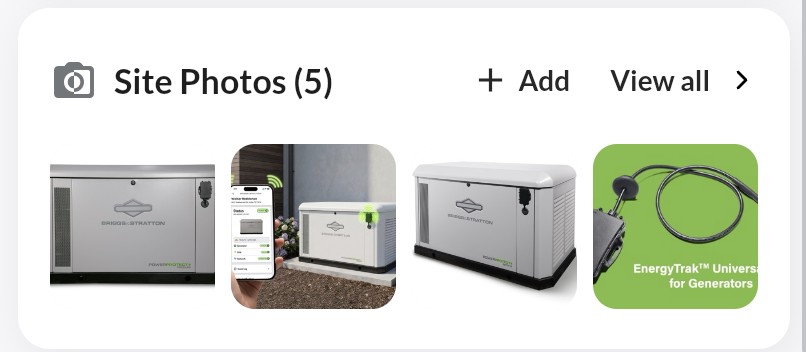
Select the panel to expand it. The newest photos appear as a row of thumbnails, with Add and View all in the header.
- Select View all to open the full gallery.
- Select a thumbnail to open that photo directly.
- Select Add to go straight to choosing photos.
If the site has no photos yet, the panel does not expand — selecting it takes you straight to choosing photos.
Site Photos is available even before an EnergyTrak subscription is active, so you can create a site and start documenting it right away.
Adding Photos
- Open the site and select View all in the Site Photos panel.
- Select ADD PHOTOS.
- Choose where the photo comes from:
- On a phone or tablet — select Take photo to open the camera and shoot one photo, or Choose from files to pick photos already on the device.
- On a computer — the file picker opens straight away.
- The photos appear in the grid right away and finish uploading in the background.
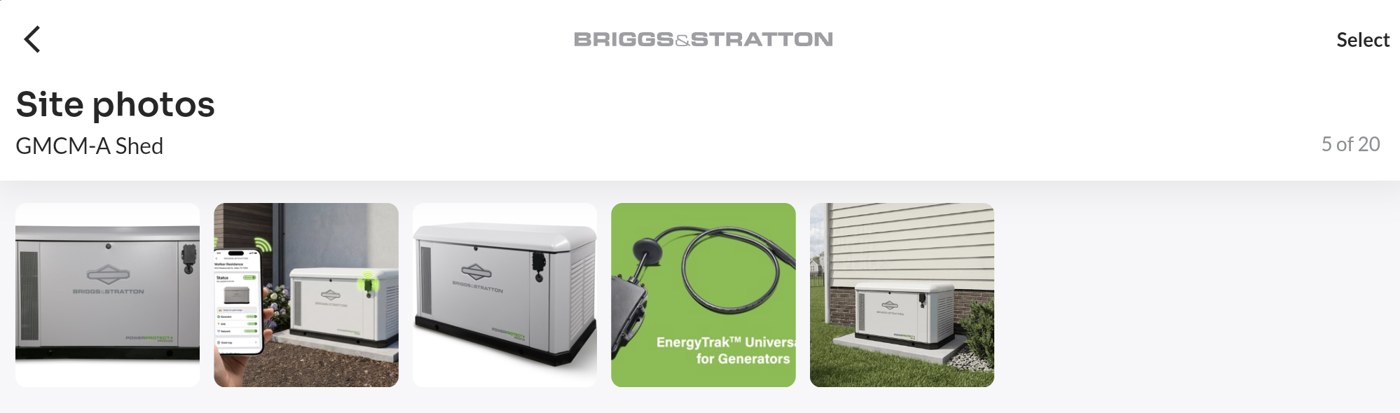
Choose from files and the computer's file picker both accept several photos at once, and the whole batch uploads together. Take photo adds one photo per capture — repeat the steps for each shot.
The first time you use Take photo, your phone asks for camera access. If you have declined it before, the app offers OPEN SETTINGS so you can turn camera access back on.
Supported formats are JPEG, PNG, WebP, GIF, BMP and HEIC. Files in any other format are skipped, and the app tells you how many. In a web browser, HEIC is not supported either — iPhone photos need to be converted first, or added from the mobile app.
Photos are resized automatically before uploading, so a full-resolution phone photo will not use excessive data.
How Many Photos a Site Can Hold
A site holds up to 20 photos. The gallery header shows how many are in use, for example 12 of 20.
- If you select more photos than there is room for, the app adds the ones that fit and tells you the rest were not added.
- Once the site has 20 photos, ADD PHOTOS no longer opens the picker — the app tells you the site is already at the maximum. Delete a photo you no longer need to free up a slot.
While Photos Are Uploading
A banner at the top of the gallery shows Uploading 4 of 5 with a progress bar and a Cancel action. Cancelling stops the photos that have not started yet; photos already uploaded are kept.
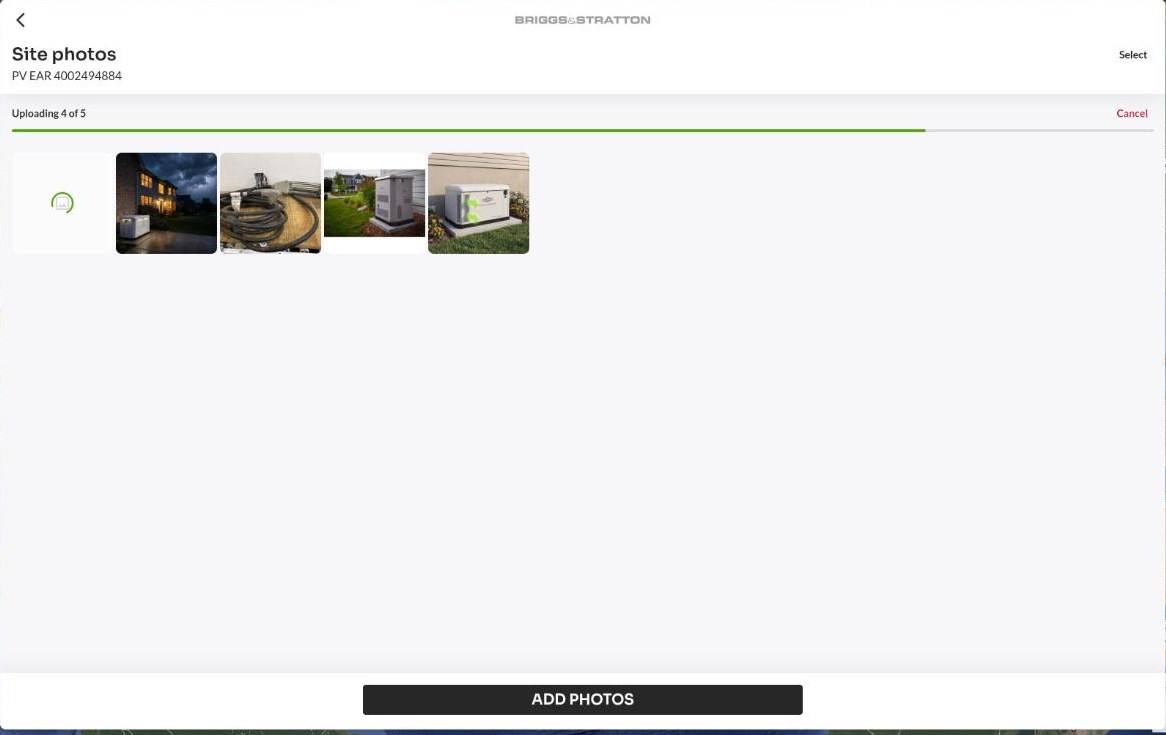
Uploads keep running when you leave the gallery or move to another site. While anything is still uploading, an upload indicator appears in the app's top bar — select it to jump back to the site involved.
Uploads do not survive closing the app. Wait for the upload indicator to disappear before closing the app or the browser tab, or the remaining photos will have to be added again.
If a Photo Fails to Upload
A photo that fails shows a red Retry marker instead of disappearing. This usually means the connection dropped — a common situation in a basement or a metal enclosure.
- Select the photo to try the upload again.
- Press and hold the photo to remove it from the list without uploading.
Photos that failed are not saved to the site until an upload succeeds, so it is safe to retry as many times as you need.
Viewing a Photo
Select any photo in the grid to open it full size. From here you can:
- Move between photos — swipe, use the on-screen arrows, or press the left and right arrow keys. The counter at the top shows your position in the site's photos.
- Zoom — pinch on a phone or tablet, scroll on a computer.
- Read the photo's full comment.
- See its details: when the photo was taken, when it was uploaded, and who added it.
- Add or edit the comment (see below).
- Delete the photo (see below).
The Taken date comes from the photo itself, so a photo shot in the morning and uploaded that evening still shows the time it was taken. Photos without that information — a screenshot, or a file that has been edited — show only the upload date.
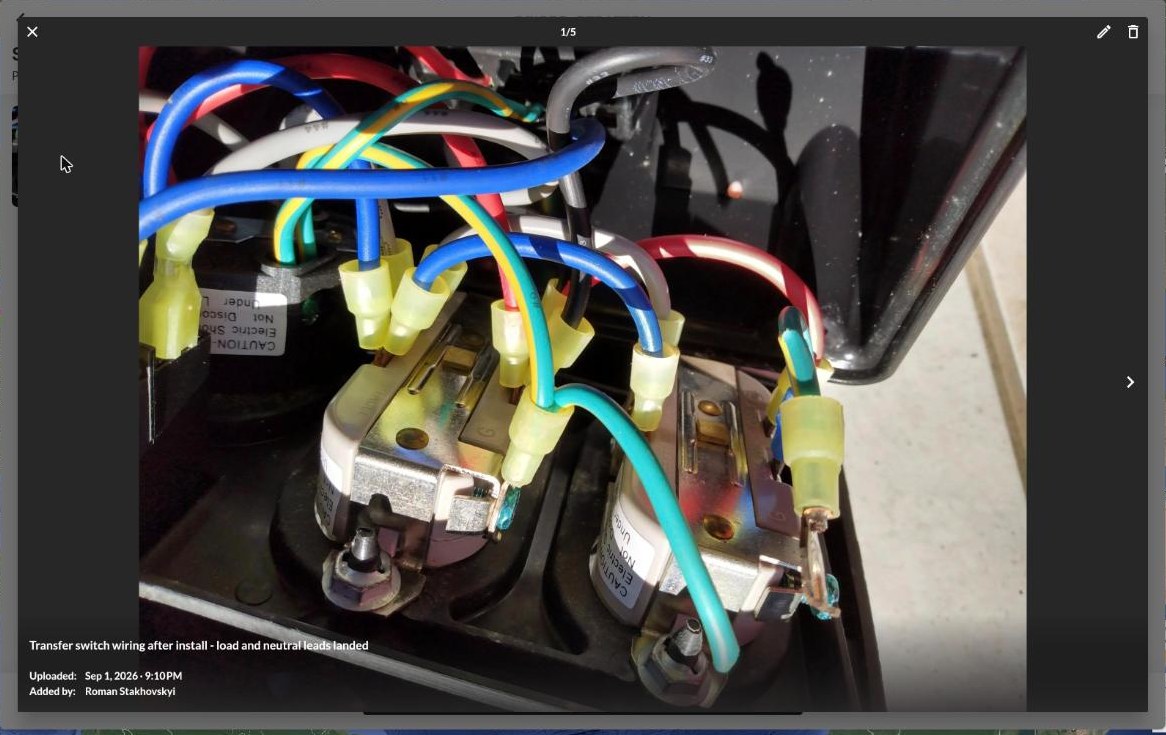
Select the X to close the photo and return to the grid.
Adding a Comment to a Photo
A comment is the fastest way to make a photo useful to the next person — what it shows, what was wrong, what was changed.
- Open the photo.
- Select the pencil at the top of the photo.
- Type the comment (up to 500 characters) and select Save.
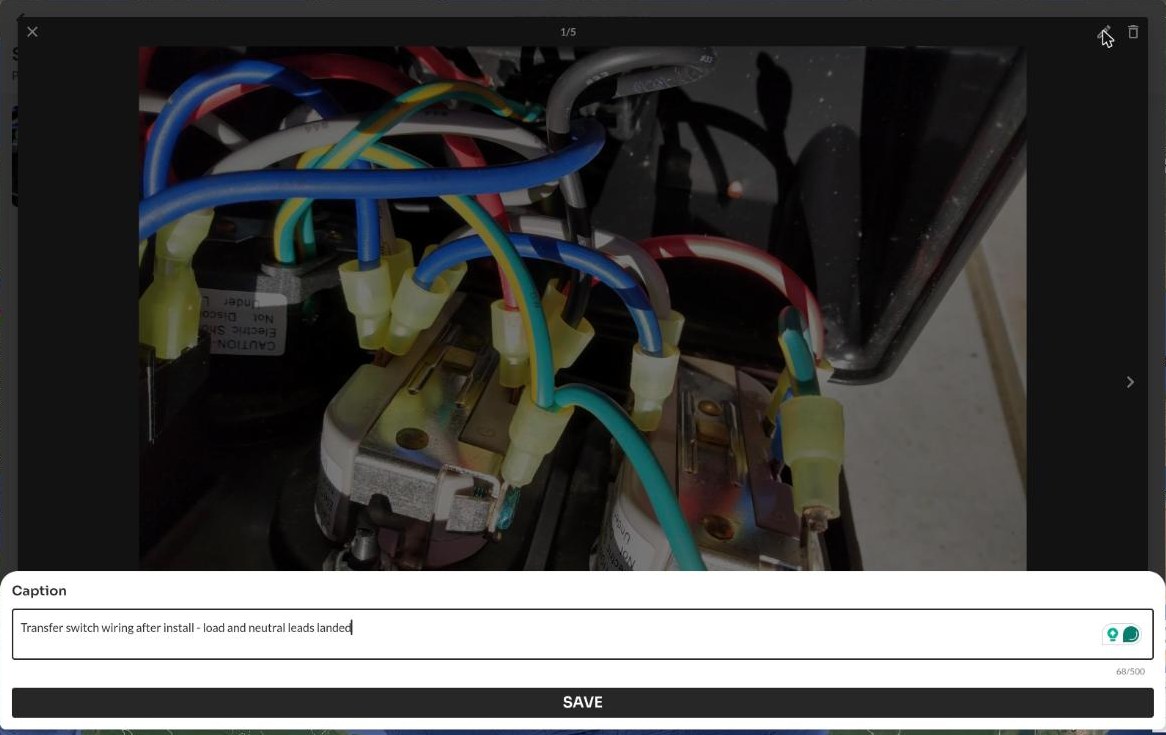
The grid shows the first line of the comment under the thumbnail, so a set of photos can be scanned without opening each one. The full comment appears when the photo is open.
To change or clear a comment, open the photo and select the pencil again. A comment can be edited by whoever added the photo, and by dealer administrators.
Deleting Photos
Deleting a photo removes it for everyone with access to the site, and it cannot be undone.
Delete One Photo
- Select the photo to open it.
- Select the trash icon.
- Confirm the deletion.
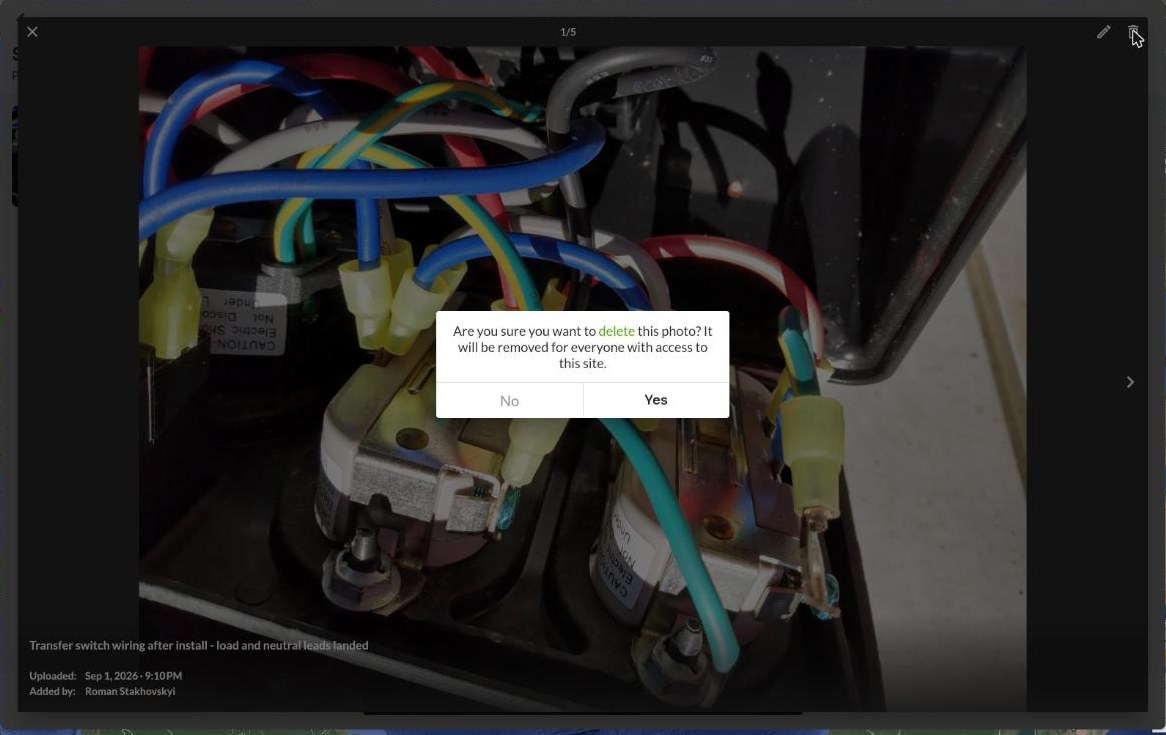
Delete Several Photos at Once
- In the photo grid, select Select at the top of the screen. (You can also press and hold any photo to start selecting.)
- Select each photo you want to remove — a green checkmark appears on each one.
- Select the red DELETE button, which shows how many photos are selected.
- Confirm the deletion.
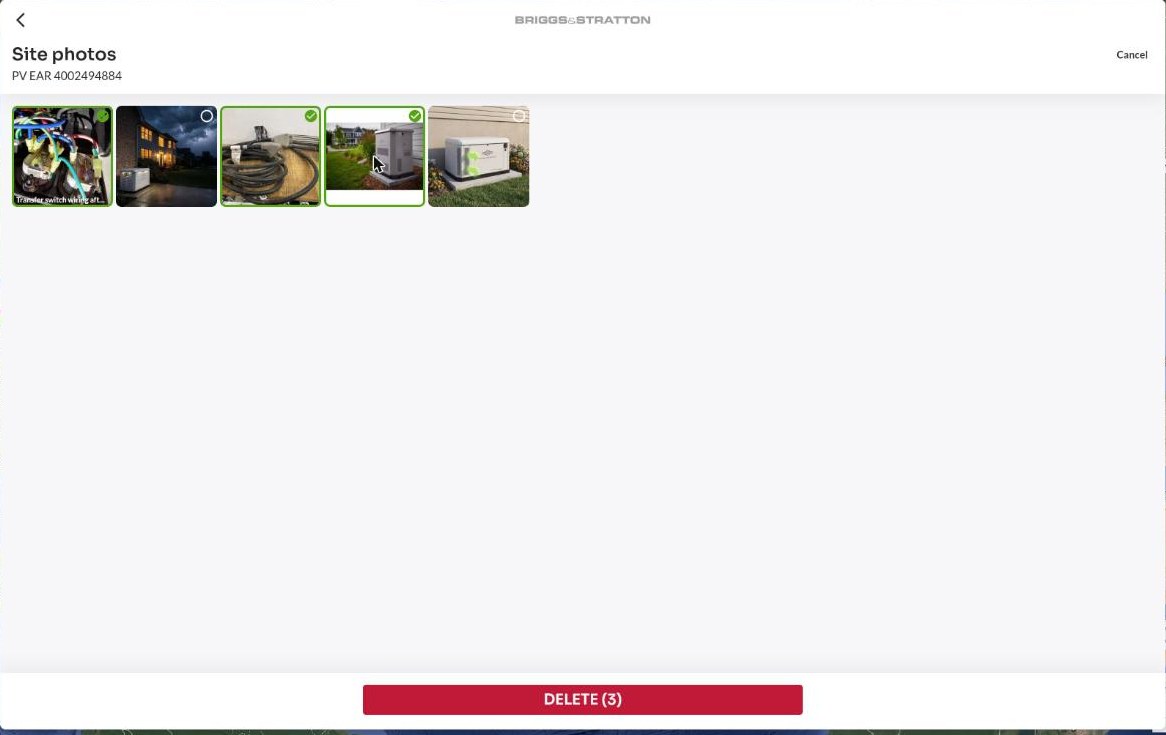
Select Cancel at any time to leave selection mode without deleting anything.
On a computer you can select a range quickly: hold Shift and select the first photo, then hold Shift and select the last photo in the range. Everything in between is selected. Without Shift, selecting a photo opens it instead.
Who Can See and Add Photos
Site Photos follows the same access rules as the rest of the site — anyone who can see the site can see its photos. There is no separate sharing step.
| Role | View photos | Add photos | Delete photos |
|---|---|---|---|
| Dealer administrator | Yes | Yes | Any photo on their sites |
| Dealer technician | Yes (assigned sites) | Yes | Photos they added |
| System owner | Yes | Yes | Photos they added |
For more about roles and site access, see the Users page.
Tips for Useful Photos
- Capture the data tag. A clear photo of the model and serial number saves a lot of time later.
- Take a wide shot and a close-up. The wide shot shows where the equipment is; the close-up shows the detail.
- Photograph before and after. Especially useful when troubleshooting or replacing a part.
- Mind what is in frame. Photos are visible to everyone with site access, so avoid capturing personal or sensitive items. Camera metadata, including GPS location, is removed from the file before a photo leaves your device. The time the photo was taken is read out first and kept as its Taken date.